Fit & Installation
Just as every child is a different shape and size, so are vehicles. Certain car seats fit better in some vehicles more than others. What fits your neighbor’s vehicle may not fit yours. This is why we don’t encourage using second-hand seats.
It’s important you select a car seat that will accommodate your child’s growth needs, fits tightly in your vehicle and is easy to use. See the “Car Seats & Boosters” section for help choosing a car seat.
Below are tips on proper fit and installation of a car seat.
More...
Table of Contents
- Fit & Installation
- How a child restraint should fit your child?
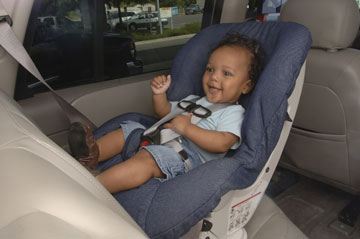
- Infants – Rear-facing Car Seats
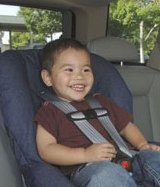
- Preschoolers – Forward-facing Car Seats
- Children Under 4 Feet 9 Inches Tall – Booster Seats
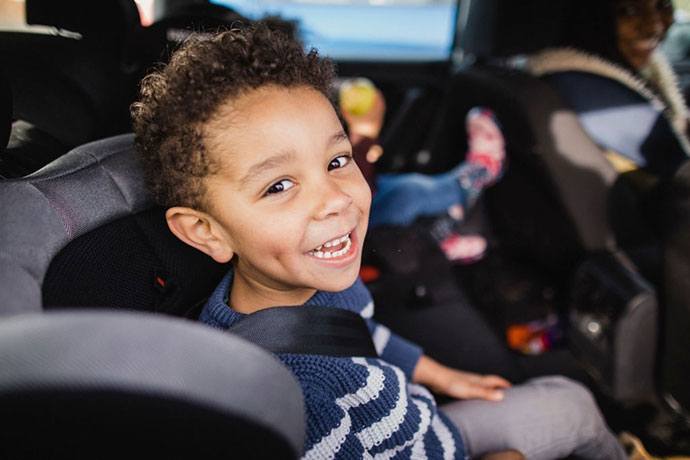
- Older Children – Seat Belts
- Choosing the safest seating location for your child
- Properly installing your car seat in your vehicle
- Installing a car seat using a seat belt
- Installing a car seat using lower anchors
- Testing tightness of a car seat installation
- Common installation issues
- School Buses
Consult your manual Always refer to the vehicle and child restraint owner’s manuals. Click on the links here to be taken to more information on that topic below:
How a child restraint should fit your child?
All car seats with a harness:
Infants – Rear-facing Car Seats
AAP Issues Updated Policy Statement
The American Academy of Pediatric updated policy statement provides 5 basic evidence based best-practice recommendations (5 steps) to optimize safety in the car for children from birth through adolescence.
Click here to download the policy statement.
Learn more by reading the Technical Report on Child Passenger Safety by the Committee on Injury Poison & Violence Prevention.
Preschoolers – Forward-facing Car Seats
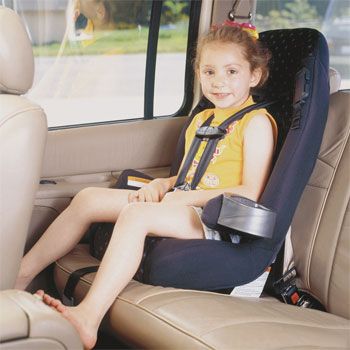
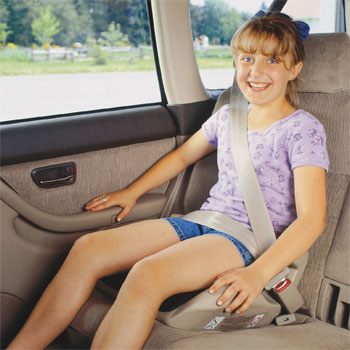
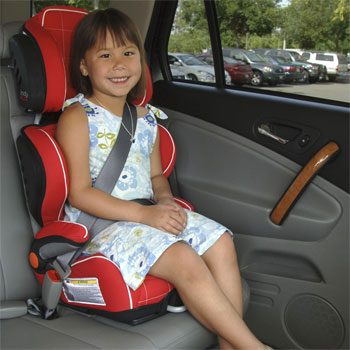
Children Under 4 Feet 9 Inches Tall – Booster Seats
Older Children – Seat Belts
If you can say YES to all five parts of the test below your child is ready to use a seat belt, which is usually around 8 years of age and 4 feet 9 inches tall:
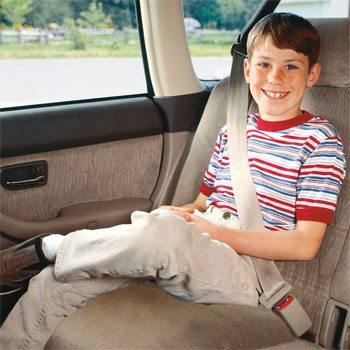
If the answer is NO to any of these questions, or if your child puts the shoulder part of the seat belt under their arm or behind their back, your child still needs to use a booster seat.
For example, Washington law requires children to ride in the back seat of the vehicle until their 13th birthday whenever it is practical to do so.
Choosing the safest seating location for your child
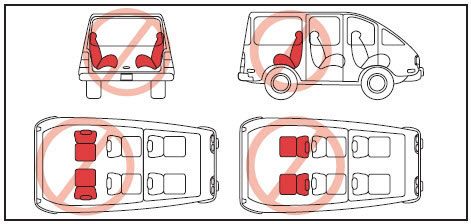
The safest seating location is generally the center-rear seat, unless the child restraint is too wide for the location, or a pronounced hump or abutment compromises the fit of the child restraint.
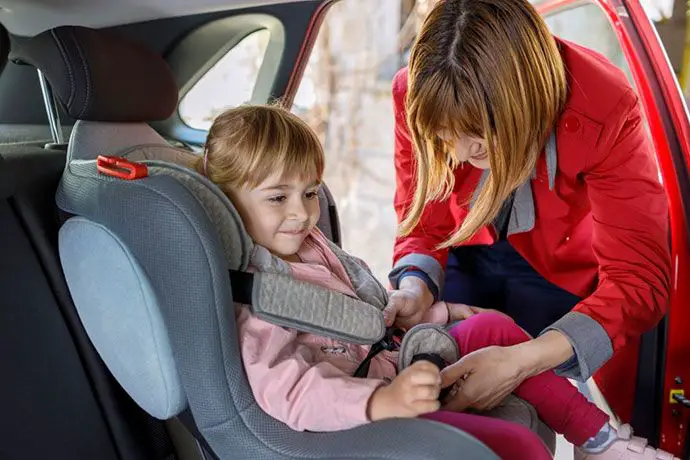
Properly installing your car seat in your vehicle
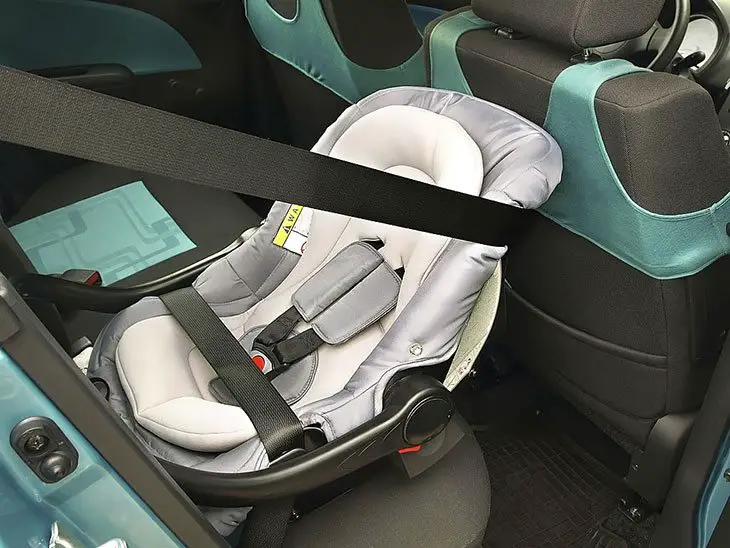
To provide proper protection for your child a car seat with a harness must be held tightly into your vehicle with a seat belt or lower anchors.
If you cannot get a tight installation using the information in your owner's manuals and provided here, contact your local Child Passenger Safety Technician to schedule a car seat check-up where you can learn how to properly install your car seat.
Installing a car seat using a seat belt
Lap-only seat belts:
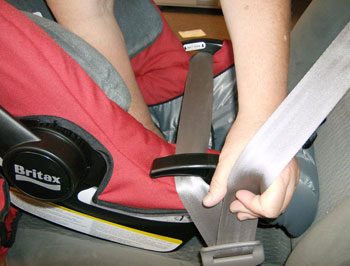
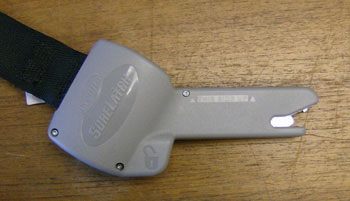
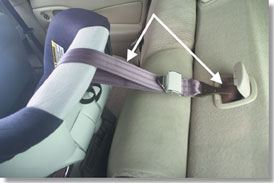
Many seat belts in the center-rear seating position work similarly to an airplane seat belt. When you buckle the seat belt and pull on the webbing tail the belt tightens and stays tight. This is called a lap-only belt with a locking latch plate. To install a car seat, feed the webbing through the appropriate seat belt path on the car seat, buckle and, while applying downward pressure on the car seat, pull the webbing tail to tighten.
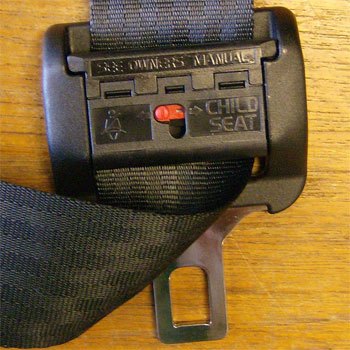
Lap-shoulder belts work in one of three ways:
Installing a car seat using lower anchors
Lower Anchors Tethers for Children: LATCH is a method of securing child restraints into a vehicle using two lower anchors and a tether, without using a seat belt.
Lower anchors: required in most vehicles beginning with 2002 models.
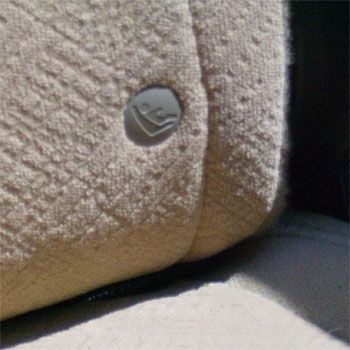
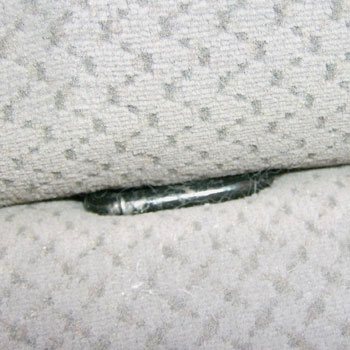
Anchors are located where the upper and lower seat cushions meet. If not visible they can be located by a symbol on your seat cushions. Consult your manual
Lower anchors are not more or less safe than installing a car seat with a seat belt. Proper fit and installation is the key to safety.
Regulations require 11 inches/280mm between the two lower anchors. Due to this requirement, many vehicles do not permit a center-rear installation using lower anchors. If this is the case and the child restraint fits the center-rear seating position, it should be installed with the seat belt. Consult your manual
There are three types of lower anchor attachments on car seats. Consult your car seat owner’s manual for the proper way to attach to the lower anchors. Consult your manual
Push to latch with a rigid bar: Clek, Baby Trend Latch-Loc
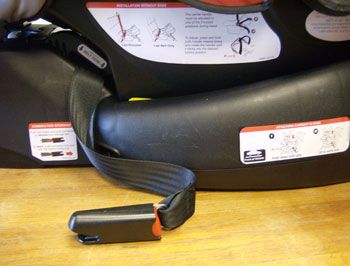
Push to latch with flexible webbing: Britax, Chicco, Peg Perego, some Evenflo
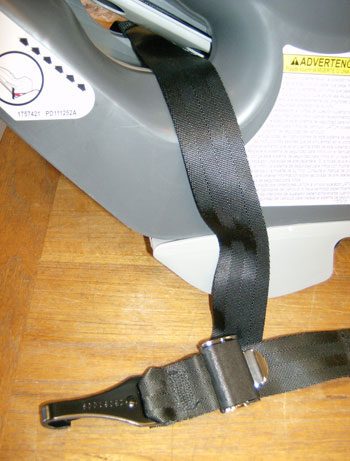
Hook on with flexible webbing: Dorel, Graco, some Evenflo
Lower anchors are available for retrofit in only a few vehicles (Audi, VW, Volvo), check with the vehicle manufacturer.
Tethers: required in most vehicles beginning with model year 1999. Consult your manual
Tethering a forward-facing car seat is important because it reduces the forward movement of the car seat and child’s head during a crash.
Most vehicles with lower anchors also have a top tether anchor. Exemptions include sports cars and convertibles.
Do not confuse cargo anchors with tether anchors. You MUST check your vehicle manual. Consult your manual
Tether anchors can be retrofitted in many older vehicles. Call the Safety Restraint Coalition 1-800-282-5587 to learn more.
Testing tightness of a car seat installation
Common installation issues
The width of the child restraint must fit between the seat belt buckle and where the webbing comes out of the seat cushion. If the restraint is wider than the seating position, you will not be able to get a safe, tight fit. This frequently happens in the center-rear seat position.
With the driver’s seat positioned comfortably for the driver, a rear-facing car seat must be able to be installed in the back seat without the driver or front passenger seats pushing on the child restraint.
The seat belt webbing needs to be long enough to properly install the child restraint. Some smaller vehicles have difficulty accommodating large car seats due to the routing of the seat belt.
Some car seats that accommodate higher weight limits are significantly taller than regular seats and may not fit in smaller vehicles.
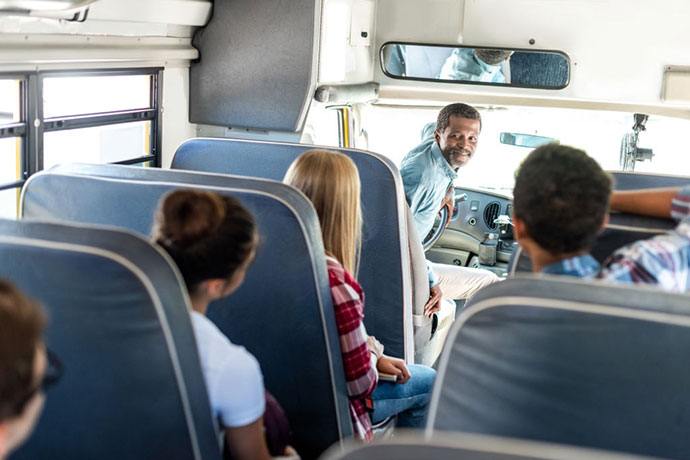
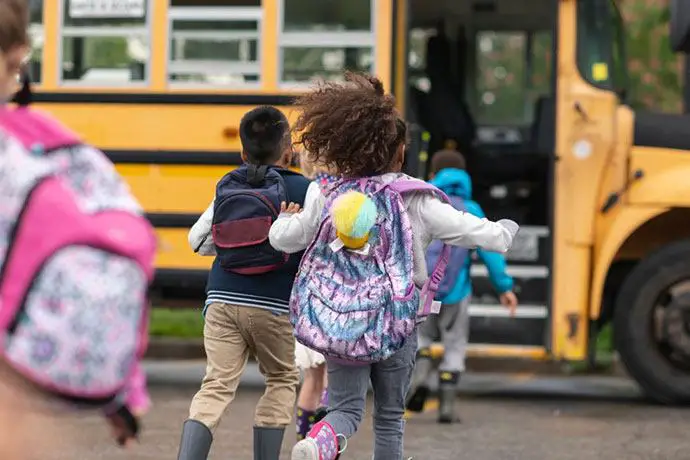
School Buses
The question: How can school buses possibly be safe, they’re big, there are few if any seat belts, children are small- if there was a crash the children would be hurled all around the inside of the bus? Explain to me why I should feel my child is safe riding a school bus.
The answer: Student transportation in the form of motorized vehicles has been around for just short of a hundred years. Statistically a child is safer being transported in a school bus than in a family vehicle. Consider this:
Annual school bus transportation statistics:
While catastrophic school bus crashes have occurred, they are rare events. Most school bus crashes are minor, and in most crashes involving passenger cars and light trucks, the school bus has the advantage of its larger size and weight.
As a result, many more people are killed or injured each year in vehicles that crash into school buses than are killed or injured in the school buses. It is difficult, if not impossible, to develop ways to protect school bus occupants in catastrophic crashes, such as those involving trains and heavy trucks.
The crash forces in those crashes are so great that any reasonable structural design cannot maintain the integrity of the vehicle, which is one critical component of occupant crash protection. (COPY: 2000 National Association of State Directors of Pupil Transportation Services.)
The question still exists: Why do school buses protect? This answer gets a little more complicated. Very often the basic explanation revolves around a term “compartmentalization,” comparing the students in a school bus to eggs in a carton. There is more to why a school bus protects.

There are Federal standards that apply to school buses. As a result of the passage of the National Traffic and Motor Vehicle Safety Act of 1966 and the School Bus Safety Amendments of 1974, the National Highway Traffic Safety Administration, an agency of the U.S. Department of Transportation, has issued 36 Federal Motor Vehicle Safety Standards (FMVSS) which apply to school buses.
These standards cover a range of components and systems, e.g., brakes, steering, glazing, lights, fuel system integrity, mirrors, heaters/defrosters, compressed natural gas containers, etc., and apply to all types of motor vehicles. Many of these federal standards have unique requirements for school buses.
The design and construction of today's school buses are a direct result of both the FMVSSs which apply to school buses and the guidelines adopted by the National Conferences on School Transportation, as well as some requirements that are unique to particular states or local school districts. While today's school buses do not look much different than their predecessors of 30-40 years ago, they are dramatically different.
The improvements made to school buses in the past decades, as well as improvements in driver training, school bus maintenance, and school bus operating procedures, have been responsible for the outstanding safety record of school transportation. Well-trained school bus drivers avoid many crashes. (COPY: 2000 National Association of State Directors of Pupil Transportation Services.)
The following four standards are unique to school buses.
FMVSS No. 220, "School Bus Rollover Protection," which specifies the minimum structural strength of buses in rollover-type accidents;
FMVSS No. 221, "School Bus Body Joint Strength," which specifies the minimum strength of the joints between panels that comprise the bus body and the body structure;
FMVSS No. 222, "School Bus Passenger Seating and Crash Protection," which establishes requirements for school bus seating systems for all sizes of school buses, and provides minimum performance requirements for wheelchair securement/occupant restraint devices and establishes a requirement that wheelchair locations be forward facing; and
FMVSS No. 131, "School Bus Pedestrian Safety Devices," which requires school buses be equipped with an automatic stop signal arm on the left side of the bus to help alert motorists that they should stop their vehicles because children are boarding or leaving a stopped school bus.
FMVSS No. 222 brings us full circle to the term “compartmentalization.” Think back to your days on the good ol' school bus. Remember how those rigid green seats were wedged closer together than on even the cheapest no-frills airline? That's compartmentalization in action.
Sitting in "strong, closely-spaced seats that have energy-absorbing high seat backs," passengers are effectively protected from crashes. Of course, the method can't prevent all injuries, but the NHTSA argues it's the best possible solution. Several studies have shown seat belts would provide "little, if any, added protection."
So the initial question, Why should I feel my child is safe riding in a school bus? The answer is as simple as it is complex. The data available confirms and statistics support the fact that children are safe riding in school buses.
National Association of State Directors of Pupil Transportation Services www.napt.org
National Highway Traffic Safety Administration www.nhtsa.gov